How to Get Professional Results From Spray Paint

Spray Paint
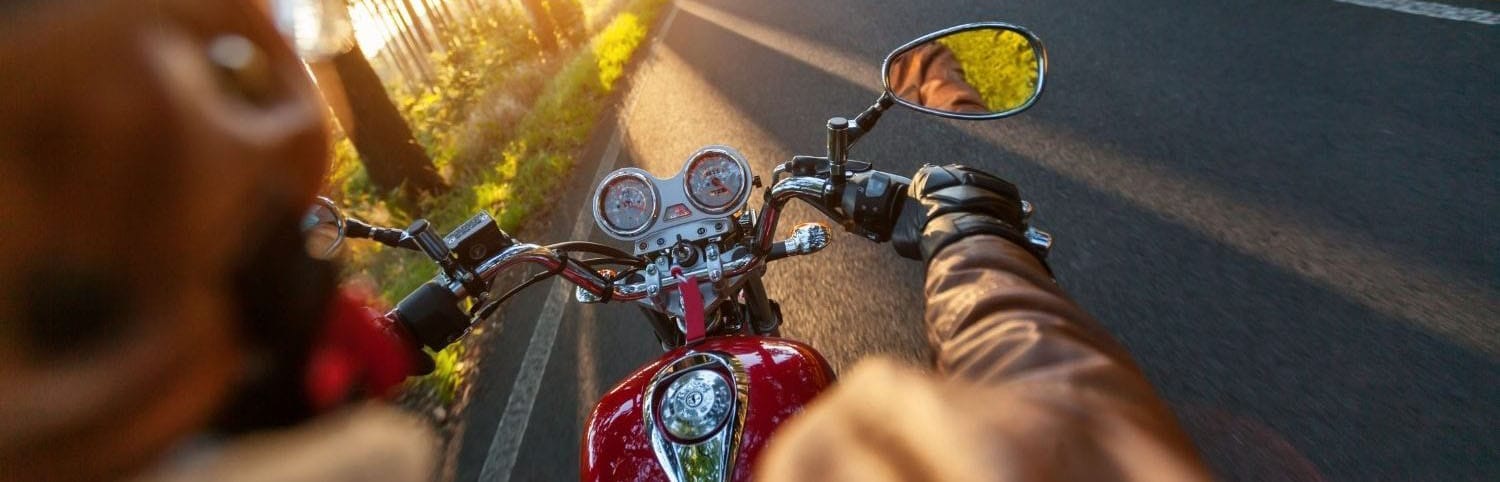
You can get incredible results from spray paint!  Most professionals painters spray their paint onto cars, motorcycles, industrial equipment, and houses!  Yes they may have some fancy equipment, but that doesn’t mean you can’t use many of the same techniques they use to achieve awesome results in your garage.

Tips to a Professional Looking Job with Spray Paint:

  • Properly prep the surface
  • Have a clean area
  • Know your paint
  • Use the right paint

Prep

Any painter will tell you, the key to a great paint job is the preparation.  Removing any loose metal, old paint or rust should be obvious but it’s also important to remove any oils on the surface.  This includes motor oil but also oils from your skin so wear gloves and use PJ1 Super Cleaner.  If the surface is painted or polished, rough up the surface using a scuffing pad or 600 grit sandpaper.  If the surface is bare metal or plastic you should use a primer as a rust preventative and adhesion promotor. Also, remember to completely tape off any areas you don’t want to be painted using masking tape.

Clean

The biggest enemy to any finish coat of paint is debris trapped in the paint.  There is more dust in the air then you probably realize, especially if you’re painting outside or in your garage.  We never recommend painting outside and even inside we recommend having at least a small fan to draw excess paint mist away from what you’re working on.  Place the fan near your work but blowing away from the piece.  Sweep and then wet the floor around the area to reduce dust and help your final coat to be flawless.

Know your Paint

Professional painters mix their paint based on the temperature and humidity they will be spraying at because that will affect how the paint will stick and dry.  The second biggest enemy to any finish coat is paint clumping or sagging.  Knowing how heavy to spray the paint will help to get good coverage with the perfect sheen without the paint sagging.  We recommend practicing spraying the paint on a vertical surface and spraying and watching how the paint builds then starts to sag.  The goal is to pray the paint until it looks wet and glossy but before it sags.  Remember the temperature and humidity will affect this so be sure to practice in the same environment you will paint in.
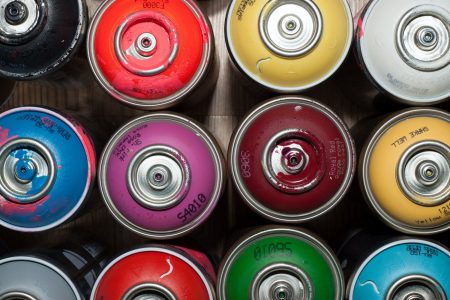
The Right Paint

The right paint includes both a quality product, the right color, the right finish and the right base compound.  Lacquers vs epoxy vs enamel all play into how the paint will look and how it will last on your motorcycle.  Lastly, you need to make sure the paint can withstand the temperatures of the piece it will be applied to.  PJ1 has a full line of spray paints including engine and case paints, high-temperature paints, primer, and high gloss clear.  This is the right paint that will get your project looking great following these 4 easy tips!

Photo by Ehimetalor Akhere Unuabona on Unsplash

12 responses to “How to Get Professional Results From Spray Paint

    1. Mike-

      The primer is not 100% required but the color does tend to look a little better if you prime it first. We recommend using a fine sandpaper to scuff the surface prior to applying the paint. This will help the paint adhere evenly. Also, we recommend multiple light coats when applying.

      Thank you!

      -BDP

    1. Cory-

      Yes, applying PJ1 Clear Coat (17-CLR) will help seal and protect the painted area. It is worth the extra effort and will give the paint job a glossy, professional finish.

      Thank you!

      -PJ1

  1. If I’m using the high temp flat black paint for the exhaust system on my 2013 suzuki C90T B.o.s.s, which was originally either flat black or powder coated from Suzuki, but started flaking off quite a bit, and my “try to touch up what was still there,blending with high temp flat black from autozone ” my attempt at blending definitely sucked, so rather than remove the entire exhaust system, and find someone to strip the old, and either ceramic coat or powder coat, to bring back to original color when new, between price for removing/re-installing the exhaust, and the price for ceramic coating paint or powdercoating. I decided to try to sand down entire exhaust system myself, while still attached to the bike, as long as I can be happy with the area I’m able to cover, everything that can be seen. I decided on the PJ1 High Temp Flat Black ceramic paint, hoping it’s much less of an eyesore to me, and either makes me happy, or happy enough to Not focus so much on it until the end of the riding season, and then get it corrected professionally. Has Anyone Used The High Temp Flat Black Paint for an Entire Motorcycle Exhaust System from the Manifolds To The Very End of the Exhaust??? Any Tips For Removing Current Paint, and Prepping For PJ1 High Temp Flat Black?? Does PJ1 Make a High Temp Primer Spray Paint/or Should I Consider Using One With This Paint, That Would Help With Coverage/Durability?? Any Suggestions For Where I Should Start, and Steps To Remove Old Color From Exhaust, To Get The Best Results Possible?? Sorry So Very Long, and So Many Questions, Any Help/Direction Will Be Greatly Appreciated. Thank you All Very Much.

    1. John-

      Thank you for asking about your Suzuki. The PJ1 High Temp Flat Black Paint would be fine for the application you’ve described. Having it finely sanded down and smoothed, with no imperfections, is the best place to start. Once this has been accomplished, we recommend applying PJ1 Grey Primer to lay down a base coat. The primer will also allow for better overall adhesion, and provide a longer, lasting job.
      Once the primer has been applied and dried, it would now be time to apply the paint. We recommend multiple light coats as opposed to heavier coats. Make sure you allow enough time in between applications to make sure it completely dries before reapplying.

      Hope this helps!

      -PJ1

    1. Tyler-

      Yes, you are able to apply a clear coat on top of the black texture paint. If you are looking to give your paint job a glossy finish, we recommend using the PJ1 High Gloss Clear Acrylic.

      Thank you!

      -PJ1

  2. Hi I have sprayed my motor bike frame with your PJ1 Gloss Black epoxy paint and it come out fantastic
    BUT 48 hours later its still tacky and getting no better ?the date no can is 12-03-19 could this be the problem ?

    1. Mr. Bishop-

      Yes, the age of the can could have something to do with it. The typical shelf life of spray paints is between 2-5 years. If it is a problem with adhesion, you may want to try applying a primer first, to allow the paint to stick better. 48 hours should be long enough for the paint to have cured. Hope this helps.

      Thanks!

      -PJ1

  3. What are the benefits of baking painting parts, like in your home range/oven? What temps should used used and for how long should you bake the parts? What I have done in the past is bake the parts from a cold oven to 150-175 degrees for 45 minutes and then let it cool down on it own to remove/handle the part.. I don’t want to hurt/overheat the motorcycle part like a magnesium/aluminum/steel engine case or parts. I also don’t want to hurt the new paint on the part by over heating or heating times?. Any help or advise on this subject would be very helpful.

    Lastly, are your paints compatible with ultraviolet curing lights. Any advise using a light or lamp with your paints?.

    1. Michael-

      You could actually raise the temperature to around 350 degrees Fahrenheit. A good rule of thumb is to bake for around 10-20 minutes for smaller parts and 30-40 minutes for larger parts. Yes, ultraviolet curing lights would be compatible to use on PJ1 paints.

      Thank you!

      -PJ1

Leave a Reply

Your email address will not be published. Required fields are marked *