 Part of the fun of owning a motorcycle is customizing it. Your bike should reflect your personality, and inspire you to be yourself when you’re riding it. For many of us who ride, part of the fun is also getting to do some of our own work. The important thing here is to realize our limitations and take it to a professional when required. You may be thinking that custom motorcycle paint is one of those times, but depending on the project it may very well be a great DIY project.
Keys to DIY Custom Motorcycle Paint
- Get the right paint
- Focus on your prep work
- Get a clean environment
Getting the right paint starts with understanding the PJ1 coating options. As we’ll talk about next, every paint job is only as good as its worst step. That’s why we recommend PJ1 Primer be the foundation for your custom motorcycle paint job. PJ1 Primer is compatible with any type of paint you would be using on your bike and has superior adhesion properties so you don’t have to worry about your nice paint job flaking off. It also offers superior rust protection so it is ideal for restoration projects.
Besides a good primer, you need to consider the temperature of the surface the paint you’re using is going to be. You can’t just use any old paint on engine parts or exhaust components or the first time you fire up your bike it will bubble, peel and possibly burn. PJ1 offers paints that will work on cold surfaces like your fuel tank or fairings that require a durable finish all the way up to 1500 degree surfaces.
Lastly, if you’re still worried about your spraying skills you may consider using textured paint. Textured paints can hide imperfections on the base piece and can also cover up errors when applying the paint. The texture also adds some thickness to your paint which can make it more durable and resistant to chipping or scratching.
Once you’ve got the right paint it’s important to do a good job prepping. Even if you use the best paint in the world it’s not going to stick to an oily surface or cover a hole in your gas tank. Good prep includes roughing up the old paint on the surface to give something for your new paint to stick to, cleaning any wax, grease, or oil off including fingerprints, and properly masking off the surrounding areas to catch any overspray.
Lastly, it’s important to paint in a clean environment. Getting a nice smooth surface is impossible if you’ve got lint on it or dust in the air. Most of us don’t have a professional paint booth, but there are a few things you can do. After you clean the surface of oil and grease, use a tack cloth to remove any lint right before you paint. It’s also important to prepare your space to try and remove dust. This can include wetting the area down and removing anything dusty above or near your work. Lastly, placing a strong fan near your work but blowing away can help remove paint mist that may linger in the air and could settle.
With these simple steps, you’ll have the best custom motorcycle paint job without the cost of paying a professional!
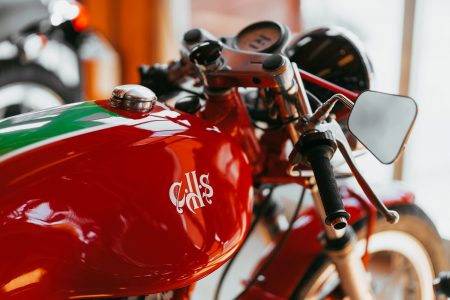
Photo by Fezbot2000 on Unsplash